Kitchen sink accessories · Custom development

Custom Molded Silicone Dish Drying Mats

Engineer private-label countertop drying mats, sloped drainage-spout mats and narrow glassware bar mats on our 200–250T HCR compression presses (platens up to 650×650 mm)—combining stable rib pitch, clean sink-lip runoff, custom Pantone compounding and flat-lay recovery after retail packing.

Use area
Countertop space for dishes, cups or glassware.
Water handling
Direct toward the sink, or collect and empty manually.
Adjustable parts
Footprint, ribs, edge, outlet and marking position.
Development inputs
Countertop and rim layout, placed objects, cleaning and packing.

Start with the drainage structure

These two choices change where the mat can sit and what the user does with collected water.

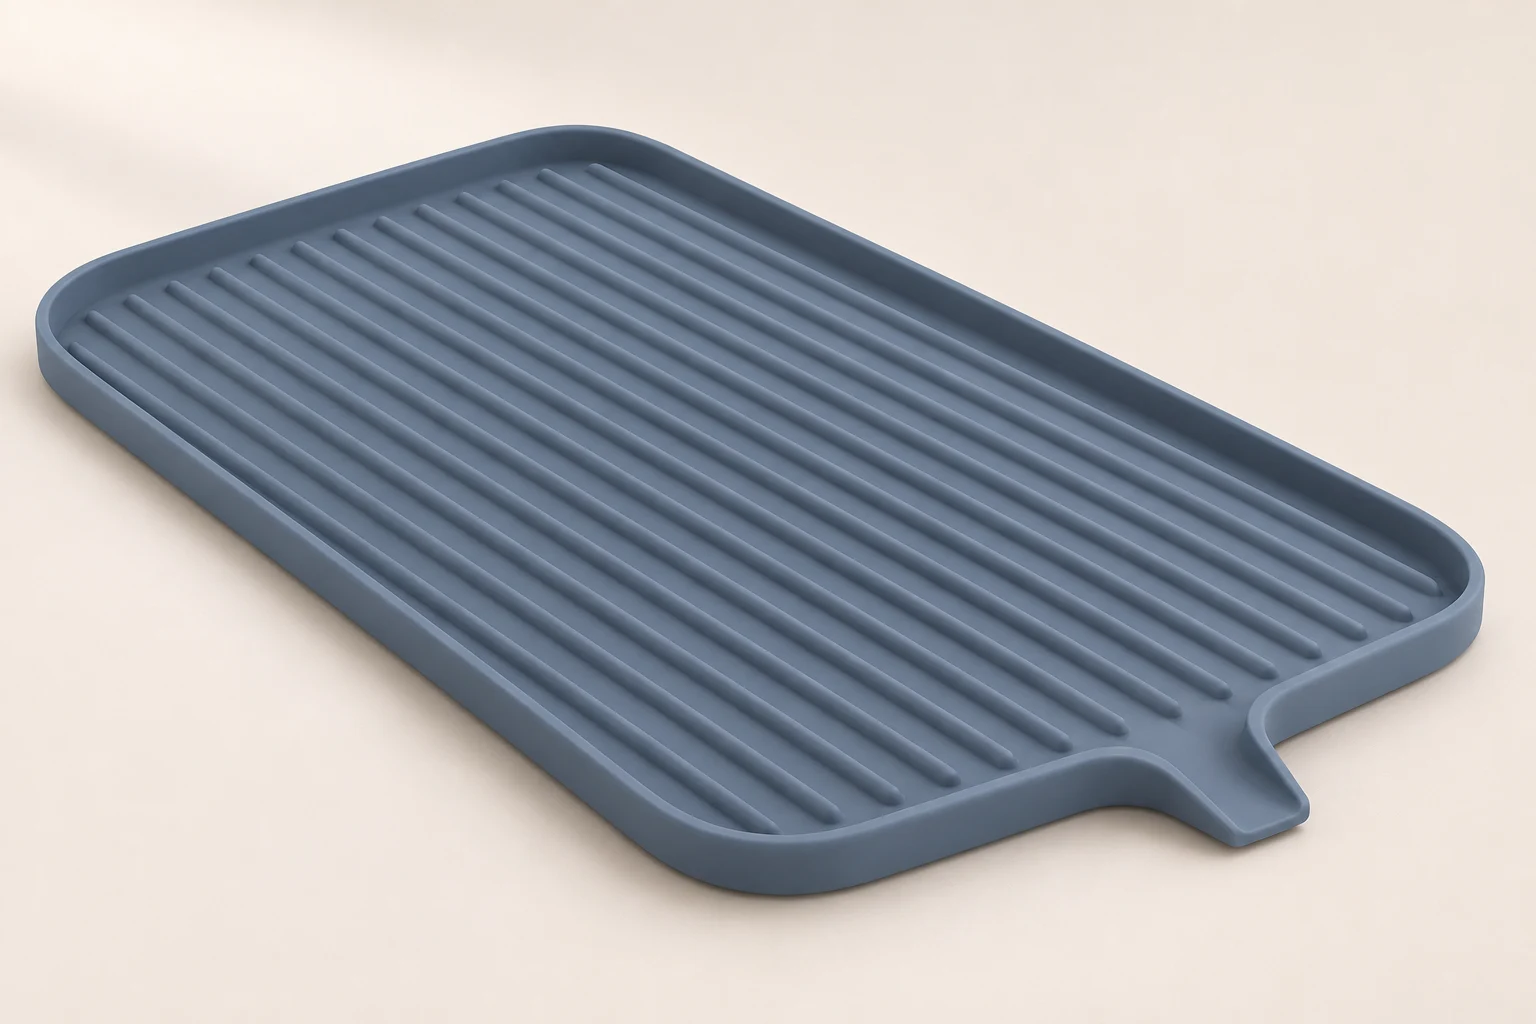
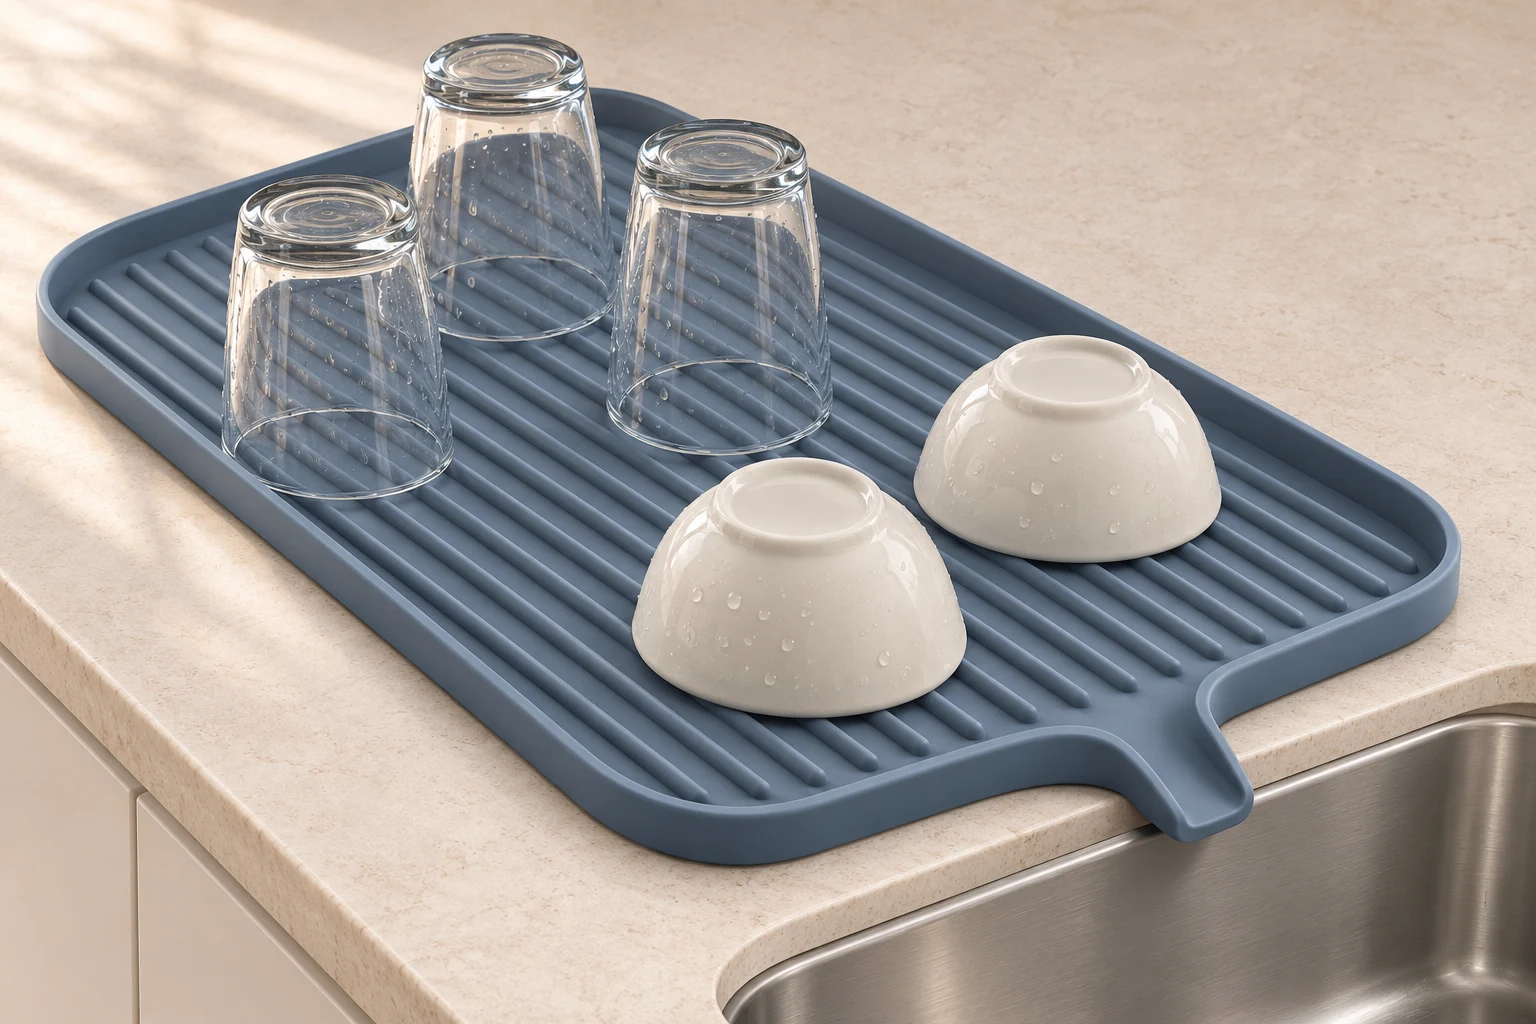
With a drainage spout

With a drainage spout

For countertop space close to the sink. An outlet connects the mat’s water route to the basin.

  • Choose outlet direction and check whether it clears the rim.
  • Connect the channels to the outlet under the intended dish load.

The outlet constrains orientation. A raised rim or a reverse slope can still retain water.

Discuss an outlet design →
Without a fixed outlet
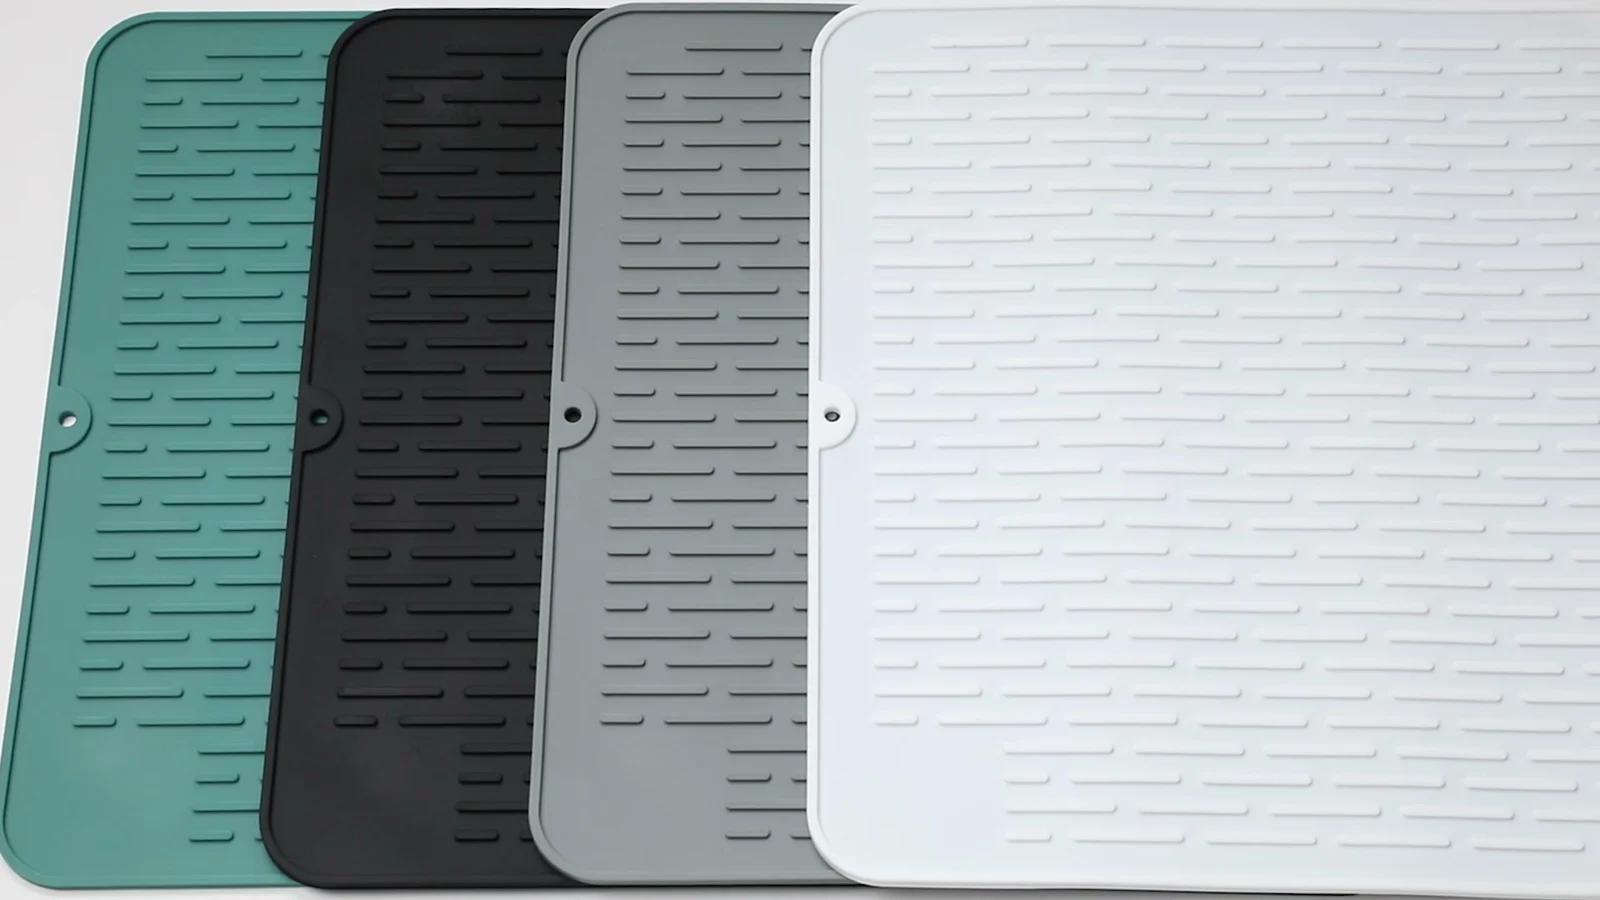
Grooved molded mats in different colors

Without a fixed outlet

For a drying area that does not need to sit directly beside the sink. Water is collected and the mat is lifted for emptying and cleaning.

  • Set the usable area and how the mat will be lifted.
  • Review the edge, grip points and the emptying action.

Placement is less tied to the sink edge, but emptying becomes an extra user action.

Discuss a collection mat →

Choose the use area as well as the water route

Choose the layout around the objects and countertop space, then pair it with a suitable drainage arrangement.

Youbang Silicone

Everyday dishes

A dish area supports a mix of plates, bowls, cups and utensils while the water is collected or directed toward the sink. Rim and base contact points change with the objects.

A broader area gives more placement options but changes lifting and wiping access. Set rib spacing around representative small bases and plate contacts instead of choosing by overall size alone.

Describe the dish mix, typical arrangement, countertop depth, water route and access for lifting after use.

Youbang Silicone

Narrow counters & glassware

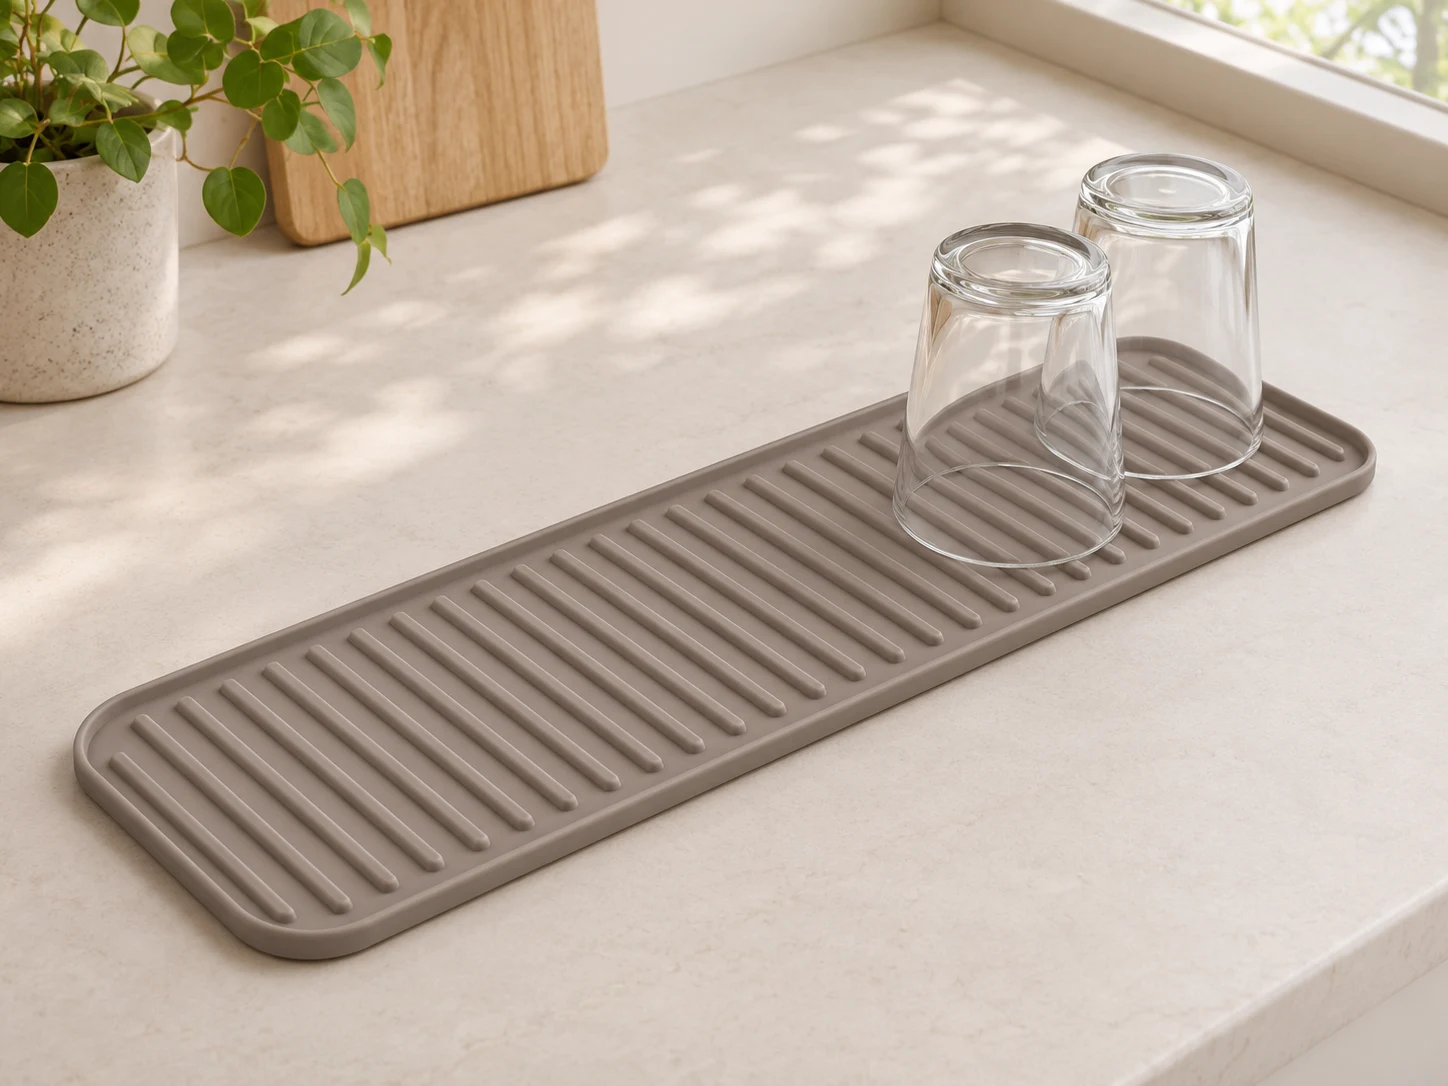
A long narrow footprint can fit a shallow countertop strip or a row of glassware. Small bases and open cup rims need enough contact with the ribs.

Choose the outlet or collection arrangement for the position, then set the length and depth. A narrow outline still needs space for gripping, lifting and cleaning its channels.

Provide glass-base and rim dimensions, quantity in a row, available countertop depth and storage position.

Cup-drip area on a coffee counterThe blue area on the left indicates a cup handling and drip zone. The gray machine outline on the right provides location context; the blue area is not beneath the machine.12
Area guide: 1 cup-handling drip zone; 2 machine outline for context, not a machine-base mat design.

Coffee-station drip areas

A cup-handling area can collect drips from cups and routine preparation beside a coffee machine. It has a different footprint and cleaning routine from a whole-machine base mat.

Keep cup rests and the emptying action accessible. A design beneath the complete machine needs separate review of feet, load, ventilation and collected water.

Show the cup-handling zone, countertop layout, spill or drip sources, cleaning method and whether the machine stands on the mat.

Connect the design choices to the function

Support, drainage and cleaning are linked design goals. Changes to one feature affect the rest of the mat and need checks in the intended use conditions.

Drying mat footprint, outlet and sink-edge relationshipW and D indicate the footprint dimensions to define. The blue mat outlet faces the gray sink on the right; the arrow starts at the outlet and points into the sink. Measure the outlet and sink-rim height difference separately.WD12
W/D: footprint width and depth; 1: outlet direction and position; 2: sink edge. Structure discussion only, not an engineering drawing or performance evidence.
Footprint & sink interface
A larger working area holds more objects, but changes handling and storage. Choose the outlet location around countertop depth and rim height; check the full layout with the actual water route.
Ribs & contact points
Closer ribs add contact points, while wider channels change access for cleaning. Review small cup bases, plate rims and loaded deflection; a wider gap alone does not establish faster drying.
Retaining edge & outlet
A retaining edge keeps water in the working area, making an outlet or manual emptying more important. Openings and logos must not interrupt the chosen route; check residual locations in the installed position.
Base flexibility & recovery
A flexible base helps lifting but changes deformation under dishes and in packing. Balance base support, grip and storage needs, then record corner lift, flatness and surface sliding under agreed conditions.
Dish-drying mat handling and rinsing — actual footage

Turn the use brief into sample checks

Handling and rinsing footage shows a separate mat example. Agree the test setup and acceptance criteria for your design before judging drainage, support or recovery.

  1. Water route & residual locations

    Place the sample in the intended countertop position with the agreed water and dish load. Record where water travels and remains; do not treat a visible outlet as proof of complete drainage.

  2. Cup and dish contact

    Use representative bases and contact points. Check rocking, rib deflection and any agreed wet-surface sliding conditions.

  3. Cleaning access

    Follow the intended cleaning method. Check access to channel floors, residue locations and the handling needed to rinse and dry the mat.

  4. Recovery after packing

    Open samples stored in the planned pack. Record base flatness, lifted edges, outlet shape and any contact marks before repeating the use checks.

For the sample brief, define the silicone material and surface, food-contact use, water and dish load, cleaning method and any target-market document requirements.

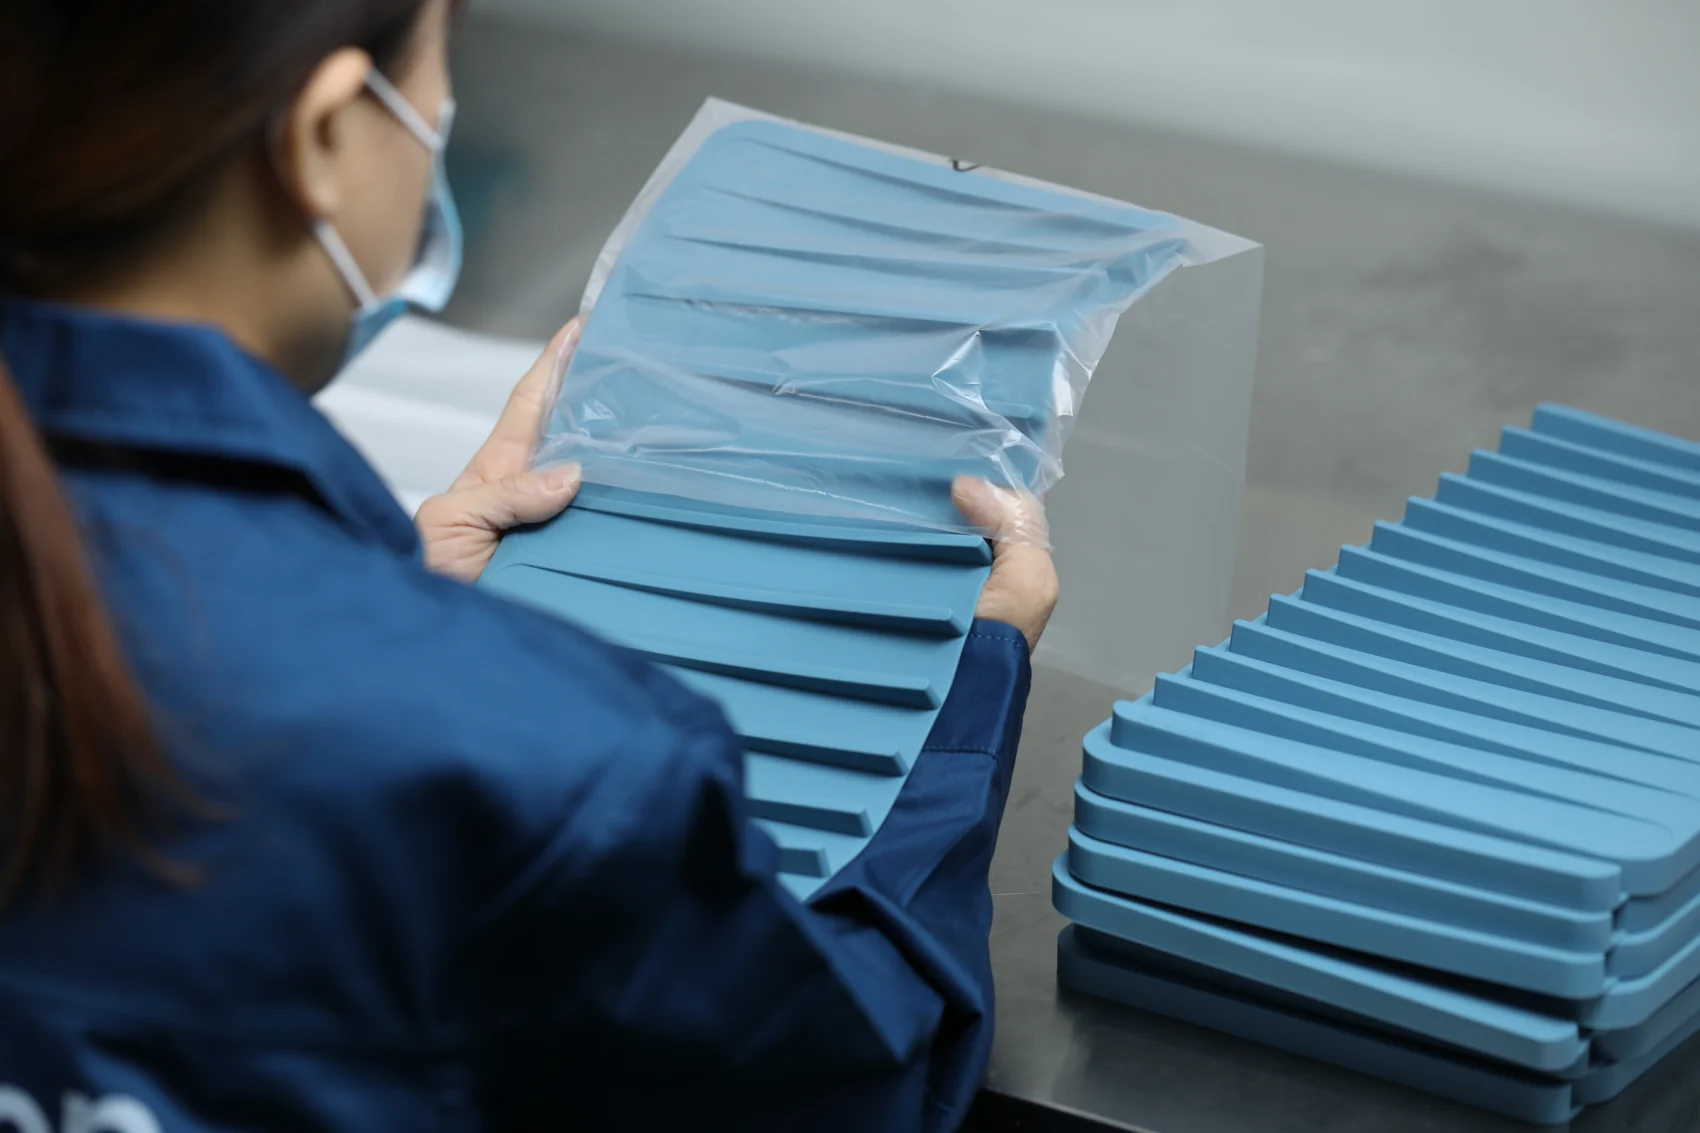
Packing molded dish-drying mats

Plan packing around the way the mat recovers

The photograph shows a packing operation on another molded mat. Select and approve the pack for your own structure.

Flat packing
Allow for the full footprint and protection between stacked surfaces. It avoids introducing a roll, while still requiring checks for pressure and contact marks.
Rolled packing
Review rolling direction, radius, restraint and storage conditions. Check the time and handling needed to recover after opening.
Folding, only where designed for it
A fold changes the local geometry and contact pressure. Treat it as a separate design and sample question rather than a default option.

Check lifted edges, outlet distortion and rib contact marks after transport simulation. Packaging supply and minimum quantities are project-specific.

Sourcing & Tooling FAQ

Key Answers Before Tooling

Covering CAD readiness, custom MOQ evaluation, free 3D fit checks vs. T1 silicone samples, NDA protection and mold ownership.

Have a part-specific question?

Send your drawing or sample photo directly to Zhou Li’s engineering desk for a 24h DFM reply.

How does a countertop dish drying mat differ from an over-sink rack or basin grid?

A countertop drying mat uses solid base thickness, raised ribs and perimeter walls to capture or channel runoff beside the sink; an over-sink roll-up rack spans the open basin on rigid bars, while a perforated basin grid sits on the sink floor. Each requires its own tooling layout and Shore A durometer.

What rib pitch works best for narrow glassware and espresso bar mats?

Narrow wine stems, shot glasses and portafilter tools tip easily if rib spacing is too wide. Share your smallest glass-base diameter and countertop strip depth so we can balance dense anti-tip rib spacing with finger-and-brush channel cleaning access.

How do you prevent water pooling on sloped drainage-spout mats?

We design continuous internal floor draft toward the spout lip and size base thickness plus Shore A hardness to resist wavy sag on the counter, verifying loaded runoff across your target undermount or drop-in sink rim step on T1 molded samples.

Can you supply FDA/LFGB food-contact testing and retail rolled-box packaging?

Yes. We mold with platinum-cured elastomers post-cured at ~200 °C × 4 h (targeting ≤0.5% volatiles for LFGB), arrange order-specific FDA 21 CFR 177.2600 or LFGB lab testing via SGS, Intertek or TÜV (~10 days), and verify flat-lay recovery in custom rolled belly-bands or retail color boxes.

B2B Factory Direct · 24h Engineering & Tooling Review

Custom-Tool Your Next Countertop Drying Mat SKU

Send your target mat dimensions, drainage-spout or rim style, Pantone code and retail pack format—our engineering team responds within 24 hours with platen layout and tooling pricing.

✓ NDA available before CAD exchange✓ Eligible for 1–3 free 3D fit prototypes✓ Paid molds 100% owned by customer

Prepare the brief for your mat

  • Use area and countertop / sink-edge layout.
  • Representative dishes, cups and contact points.
  • Outlet or collection structure, footprint and storage.
  • Material contact, surface and cleaning conditions.
  • Quantity, target market and packing plan.